PWA (Progressive Web App)
Our new PWA feature is a real game-changer. Not only will it enable your delegates to use your event platform as a native experience, but it will instantly add an extra element of branding that will enhance your event from the get-go. We are all familiar with using Apps to access our favourite websites without going through the hassle of using a browser. In the same way, once your Event App is installed onto your attendees’ mobile devices or desktops, they’ll have everything they need to experience the event, only one click away. A huge benefit of using a PWA system, from the event organiser’s perspective, is that lengthy App submissions to Apple or Play Store are avoided. Using a PWA is a streamlined and cost-effective way to get your Event App straight into your delegates’ hands and ready to access the important content. We’ve set out the set-up and installation guidelines below. If at any time you require further support or assistance, please get in touch with your CrowdComms’ Account Manager, who will be happy to guide you through the process.
PWA Initial Set-Up on Dashboard
Setting up PWA on Dashboard (CMS)
- Log into your CrowdComms dashboard (CMS) and input your details.
- Select the Event App that you would like a PWA to be set-up on. * If your App was created before PWA was released (31 January 2022), the feature won't be enabled on your App. In this case, please contact your Account Manager or Support Specialist to enable this feature for you.
- Within the ‘Add Details’ landing page, click on ‘Add-Ons’ from the left-hand menu.
- Click on ‘Progressive Web App’ that appears as an option in the secondary menu to the right.
- Type the name you want the App to be called in the ‘Short name’ field. This should be a concise name, as it will appear at the bottom of the App – there is a character limit of 12 in this field. You could choose an acronym or a short event-specific name that your attendees will instantly recognise.
- Below the name field you will see an option to upload an image and this image will become the icon for your event. Company logos and event branding work well here (we suggest an image size no larger than 512 x 512 pixels). Please note that your App icon will only appear on Android, macOS and Windows. To ensure that your App icon matches across IOS devices*, the icon image will need to be additionally uploaded on the ‘Branding’ page for your event.
- Within this window, you are also able to select a colour for your splash screen background. This will be the splash screen colour for any Android devices.
- Click ‘Save’

*Icon for iOS devices
Remember: to set your iOS App icon, please ensure that you have set the App icon image in ‘Branding’ in your Dashboard (CMS) setting. To do this, click on ‘Settings’ on the left-hand menu before selecting ‘Branding’ in the secondary menu. Select ‘Images’ from the tab menu before selecting an image to upload. And don't forget to 'Save'

Turning Off the PWA Feature
If you decide that you don’t require the PWA feature for your event or if you don’t wish the App to be installable after your event has finished, we are able to easily turn this off for you. Simply contact your CrowdComms’ Account Manager who will disable the feature.
Using a Direct link
To ensure a quick and easy installation process, we recommend that you send your delegates directly to the installation page by sending them a link in the following format:
- https://crowdcomms.com/yourShortcode/install
- In the case of custom domains:
https://your-custom-domain.com/yourShortcode/install
Installing the Event App to Delegates’ Devices
Content:
- Supported devices and browsers
- Installation Steps
- For laptop and desktop users (macOS & Windows OS)
- Google Chrome (This will not work if you are on Incognito)
- Microsoft Edge
- For Mobile Users – iOS
- Safari
- For Mobile Users – Android
- Google Chrome (may also be applicable on other browsers) (This will not work if you are on Incognito)
- For laptop and desktop users (macOS & Windows OS)
Supported Devices and Browsers
To get you set up as quickly as possible, please see below for the summary of supported device and browser combinations:
Alternatively, click here to see full supported list.
- On MacOS:
- Chrome only
- On Windows:
- Chrome
- Edge
- On iOS:
- Safari only
- On Android:
- Wide browser support, including Chrome, Firefox and Samsung browser
Installation Steps
If the event organiser has sent you a link, this will open your preferred browser automatically and take you straight to the URL. In this case you can skip steps (a) and (b).
For laptop and desktop users (macOS & Windows OS):
1. If you are using Google Chrome:
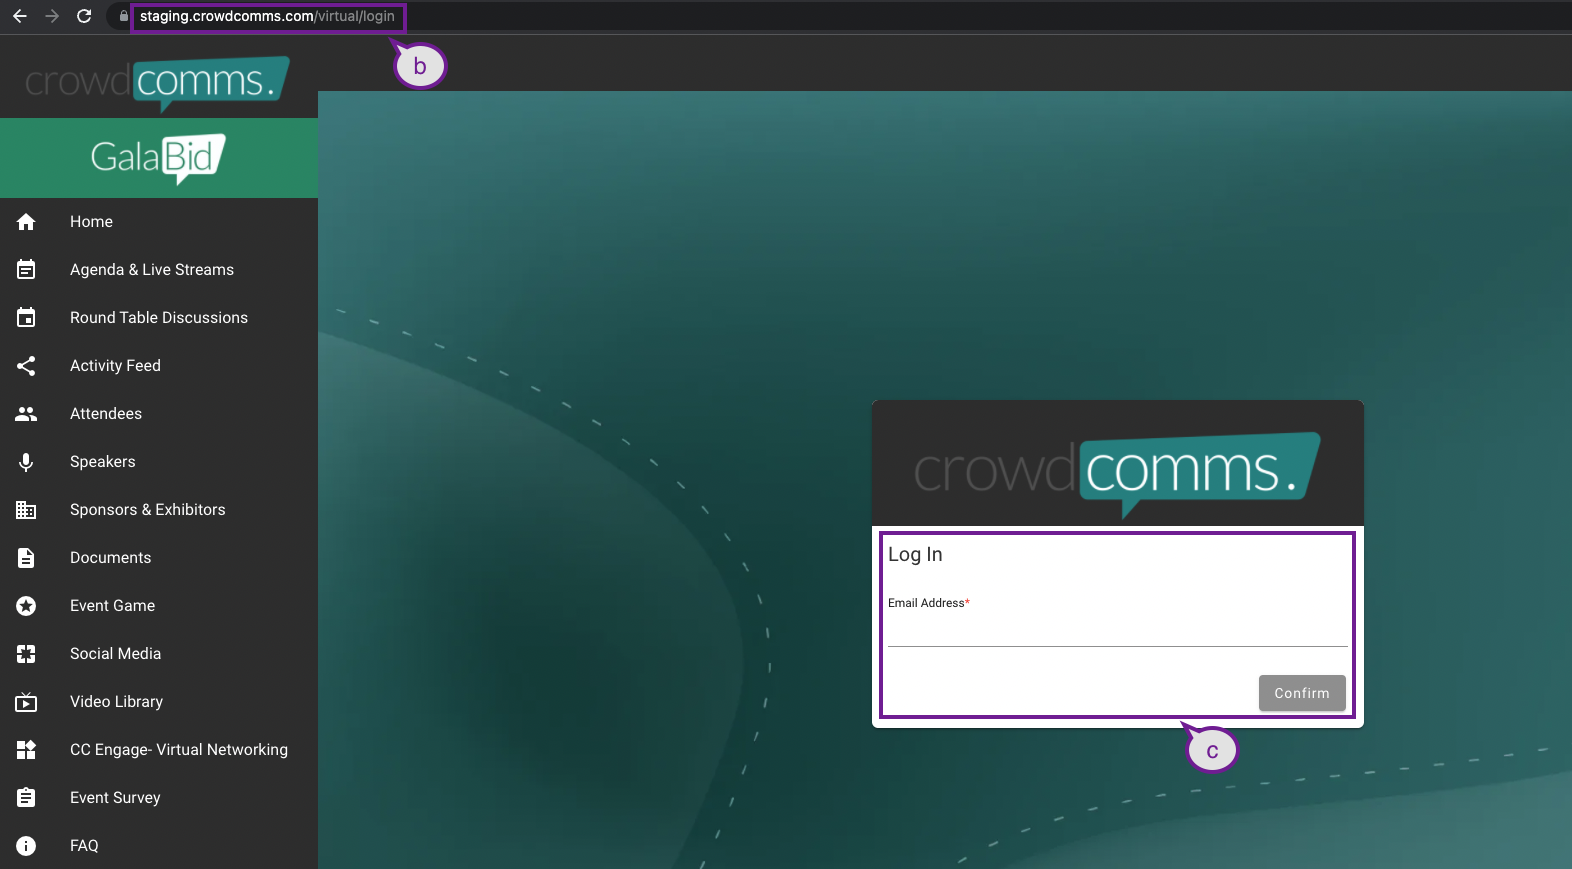
a. Click the Google Chrome App to open the browser
b. Type the URL for the Event App into the search bar
c. Log in to the Event App if required to do so
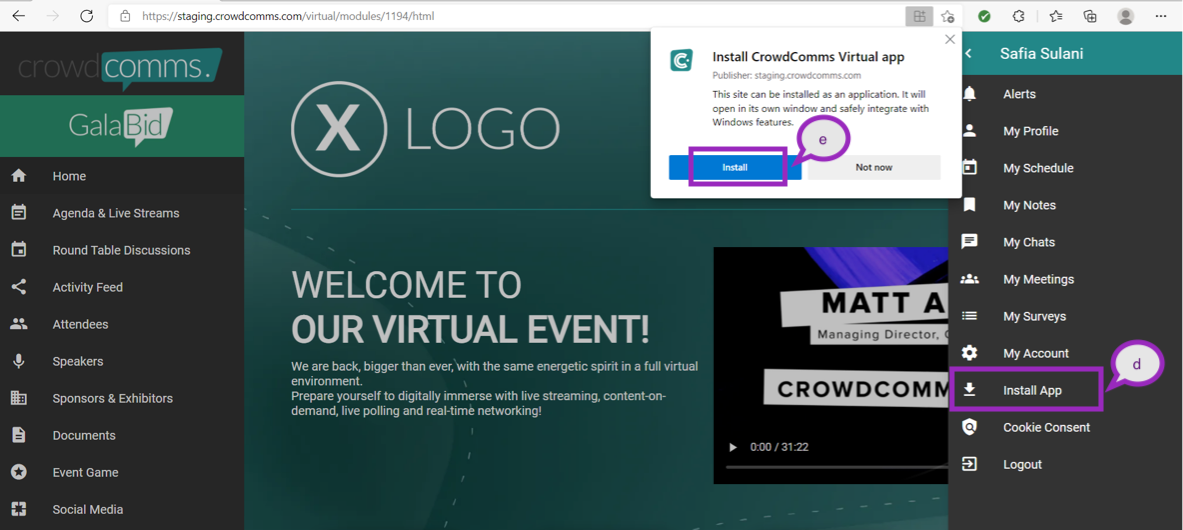
e. A pop-up will appear. Click ‘Install’ on the pop-up message, which will install the App straight onto your device

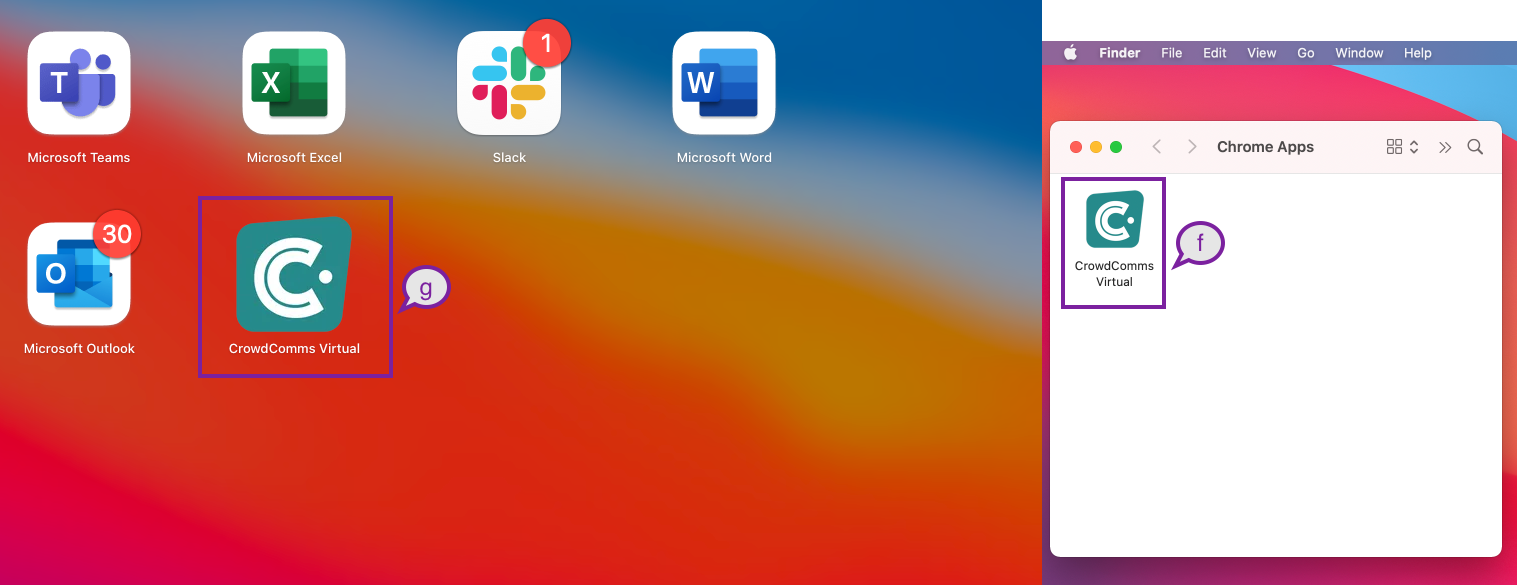
f. The Event App will be installed in a folder called ‘Chrome App’
g. You can move your Event App to another location, for example, your desktop or applications folder so that you can find it easily
2. If you are using Microsoft Edge browser:
a. Click the Microsoft Edge App to open the browser
b. Type the URL for the Event App into the search bar
c. Log in to the Event App if required to do so
e. A pop-up will appear. Click ‘Install’ on the pop-up message, which will install the App straight onto your device
f. Use the checklist to select the location(s) where you would like your App to appear
g. Click on the ‘Allow’ button to begin installation

For Mobile Users – iOS
1. When using the Safari browser (this is the standard browser installed on iOS):
a. Tap the Safari App to open the browser
b. Type the URL for the Event App into the search bar
c. Log in to the Event App if required to do so
e. Follow the instructions on the screen, provided by Safari
f. A pop-up will appear. Click ‘Add to Home Screen’
g. When the updated screen appears, tap ‘Add’ in the top right-hand corner
h. The Event App will now appear on your home screen

For Mobile Users – Android
1. When using the Google Chrome browser (these steps may also be applicable on other browsers):
a. Tap the Google Chrome App to open the browser
b. Type the URL for the Event App into the search bar
c. Log in to the Event App if required to do so
e. Click ‘Install’ on the pop-up when it appears
f. The App will then appear in your App Drawer

We hope that this guide provided you with an easy set-up and installation process. However, if at any time you require further support, please get in touch with your CrowdComms’ Support Specialist or Account Manager.