SAML2
How does SSO work? SSO works based upon a trust relationship set up between an application, known as the service provider, and an identity provider, like OneLogin. ... In SSO, this identity data takes the form of tokens that contain identifying bits of information about the user like a user's email address or a username.
How to set up saml2-compatible identity providers...
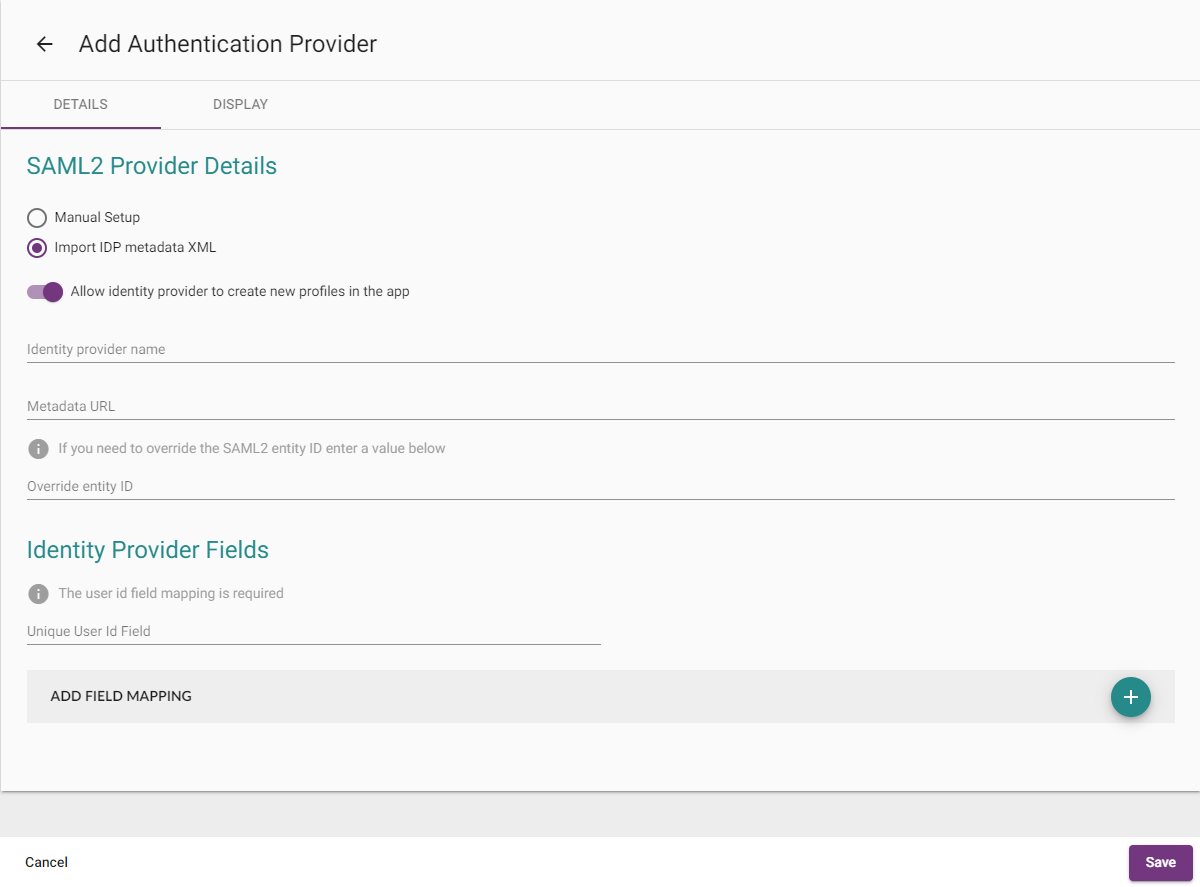
- Fill in; "Provider Name"
- Return to IDP and copy the Metadata URL
- Copy the link into the CMS field "Metadata URL"
- Insert a name into the "Unique User I.D" field (for example; NameId)
- Click Save in CMS
- Copy the "Relay State URL" into the Configuration TAB
- Copy the "Audience" into the Configuration TAB
- Copy the "Recipient" into the Configuration TAB
Field Mapping
- Click on "Edit Provider"
- Scroll down and click on "Add Field Mapping"

- Enter each field mapping and click "Save"
- Click Save
Logging into Front End
- Open up Front End of App

- Click on "Sign In"
- Enter your credentials
- At this point, if any more User information is required then a screen will appear for the user to fill them in (for example; first name), otherwise, you will receive a "Success Screen" before FE loads up
- As this is the first time the User will of logged in, they will receive the company privacy message to accept or decline
- The user is now logged into the App
Manual Set Up
- Log into CMS
- Select App
- Click on "Settings"
- Click on "Authentication"
- Click on "Add Provider"
- Check the "Manual Set Up" option
- Fill in; "Provider Name"
- Copy the "Certificate" into the required field in CMS
- Copy the "Issuer URL" into the "Entity I.D" in CMS
- Copy the "SAML2 Endpoint" into the "URL" field in CMS
- Fill in the "Unique User I.D Field" in CMS
- Click "Save" in CMS
**Copy the Field Mapping steps from Above**
**Repeat Adding a New User to the App through One Login steps from Above**
**Repeat the Logging into Front End steps from Above**
Branding the Login Page with SSO...
The Front End Login page can be branded with unique text and/or with a logo through CMS.
- Log into CMS
- Select App
- Click on "Settings"
- Click on "Authentication"
- Click on "Edit"
- Click on the "Display TAB"

- Upload the image you wish to add to the login page
- Type the text you would like to appear (For Example... "Please log in"
- Click Save