CashNet
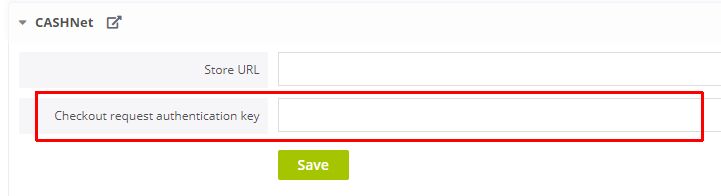
We will need the following details from your CASHNet account:
- Store URL
- Checkout request authentication key
Follow the steps below to integrate CASHNet with your events.
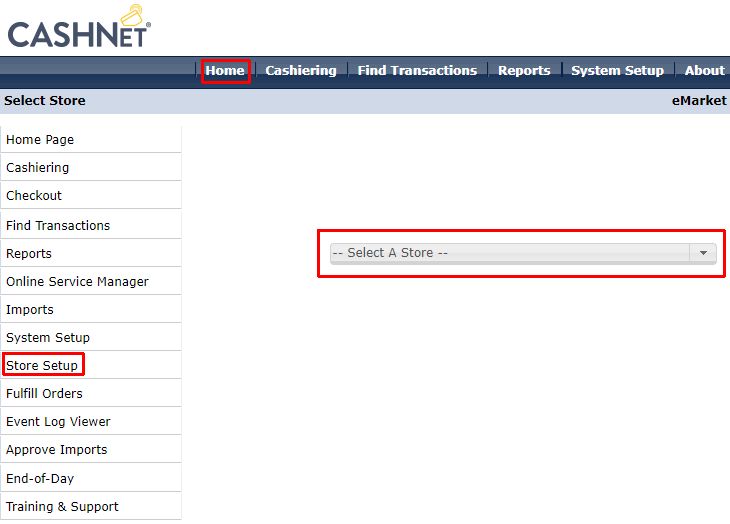
- In the CASHNet backend, click Home/Store Setup
- Select your store
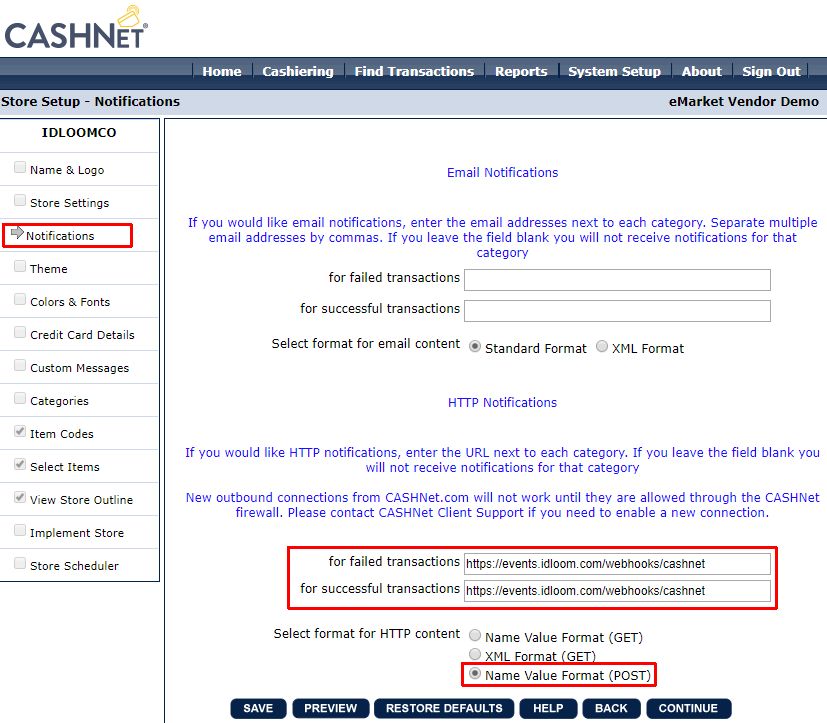
- Click Notifications and set the settings as shown in the screenshot below then click SAVE
- Click System Setup/Reference Types
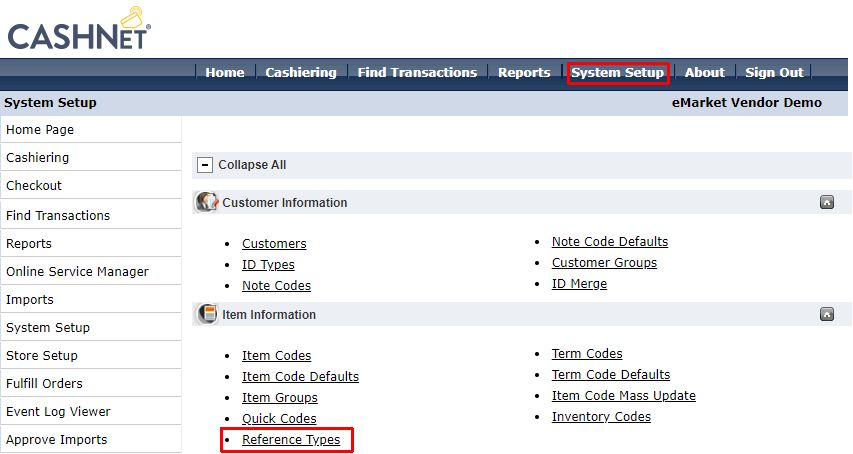
- Find and select the USERID
- Uncheck Disabled then click SAVE
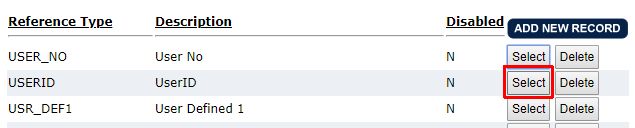
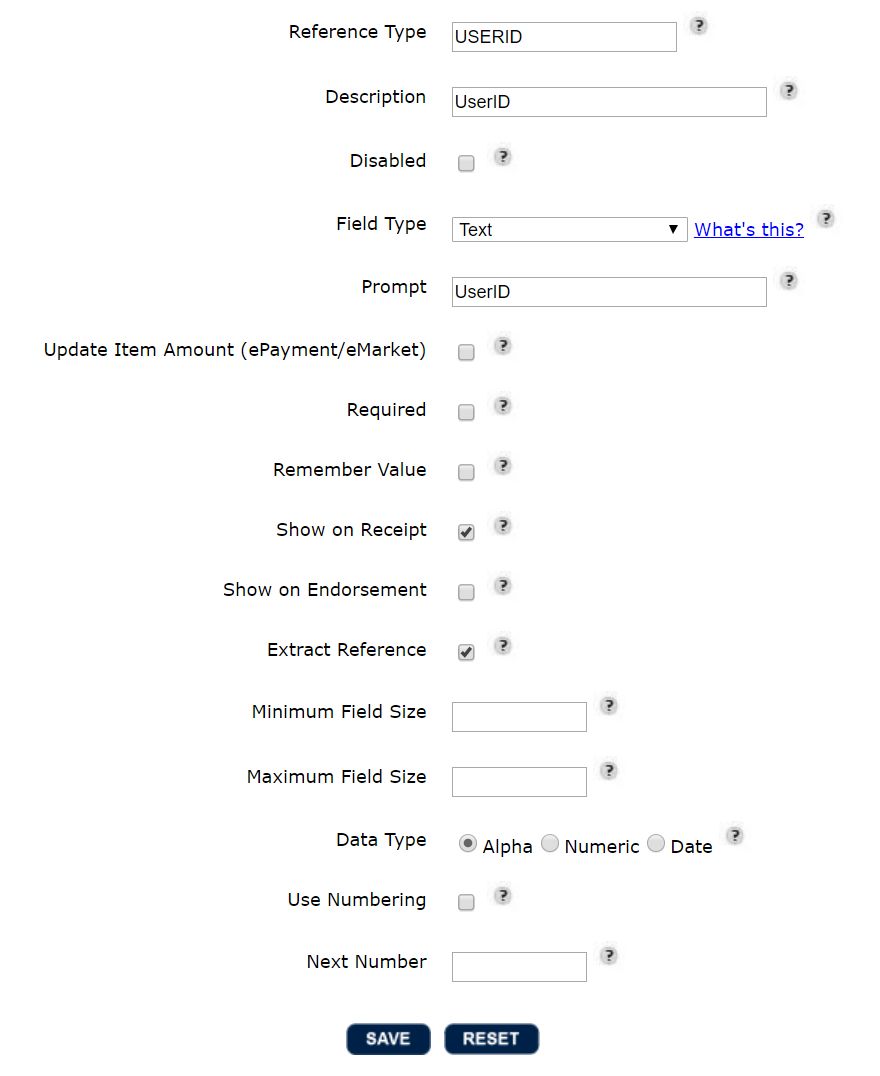
- Or if there is no USERID, click on ADD NEW RECORD and configure the new reference type like the screenshot below
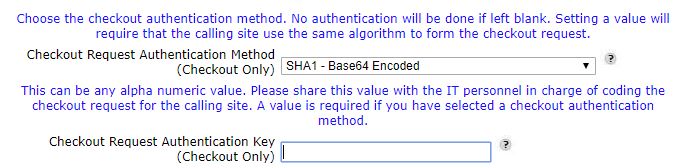
- Click System Setup/Merchants
- Select your merchant
- Select SHA1 - Base64 Encoded as Checkout Request Authentication Method
- Set a random code as Checkout Request Authentication Key then click SAVE
- And finally, copy the same random code in your idloom settings